Create a custom agent
Describe a goal, create the agent, and wait while Growf writes a name, instructions, tools, and avatar.
Create Agent turns a goal into a workspace agent. It is for people who can create agents. You describe the job; Growf writes the name, tagline, instructions, tool picks, and avatar.
5 steps · About 4 minutes
Open Agents
Choose Agents. If the workspace already has agents, New is in the header. If it does not, New sits under How to use Agents. You need permission to create agents.
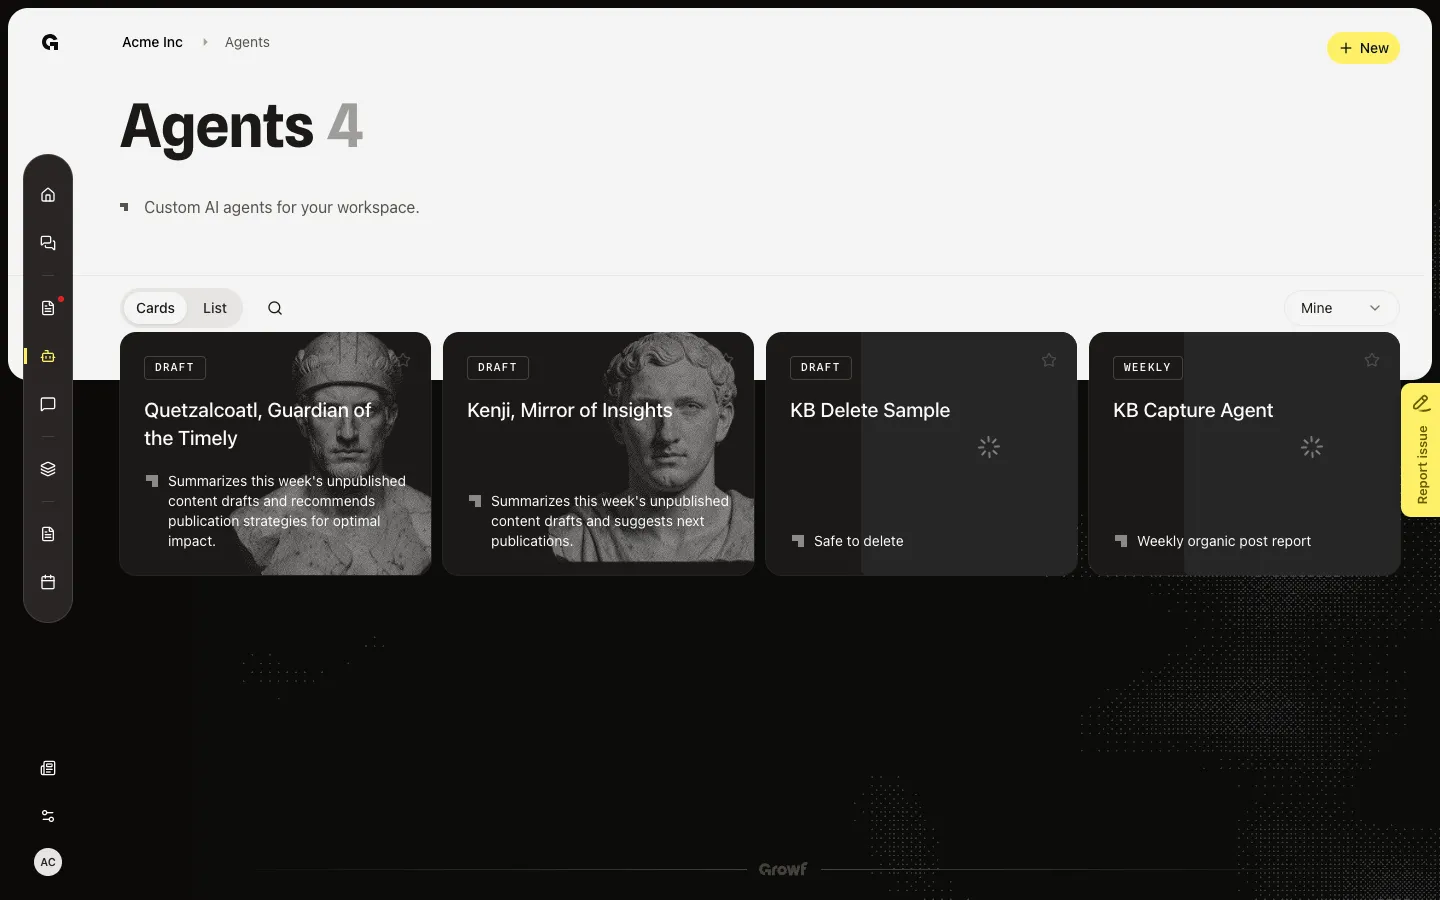
Open Create Agent
Choose New. Create Agent asks for a Goal. Growf writes the name from that goal. You do not pick a name here. You can rename the agent after it opens.
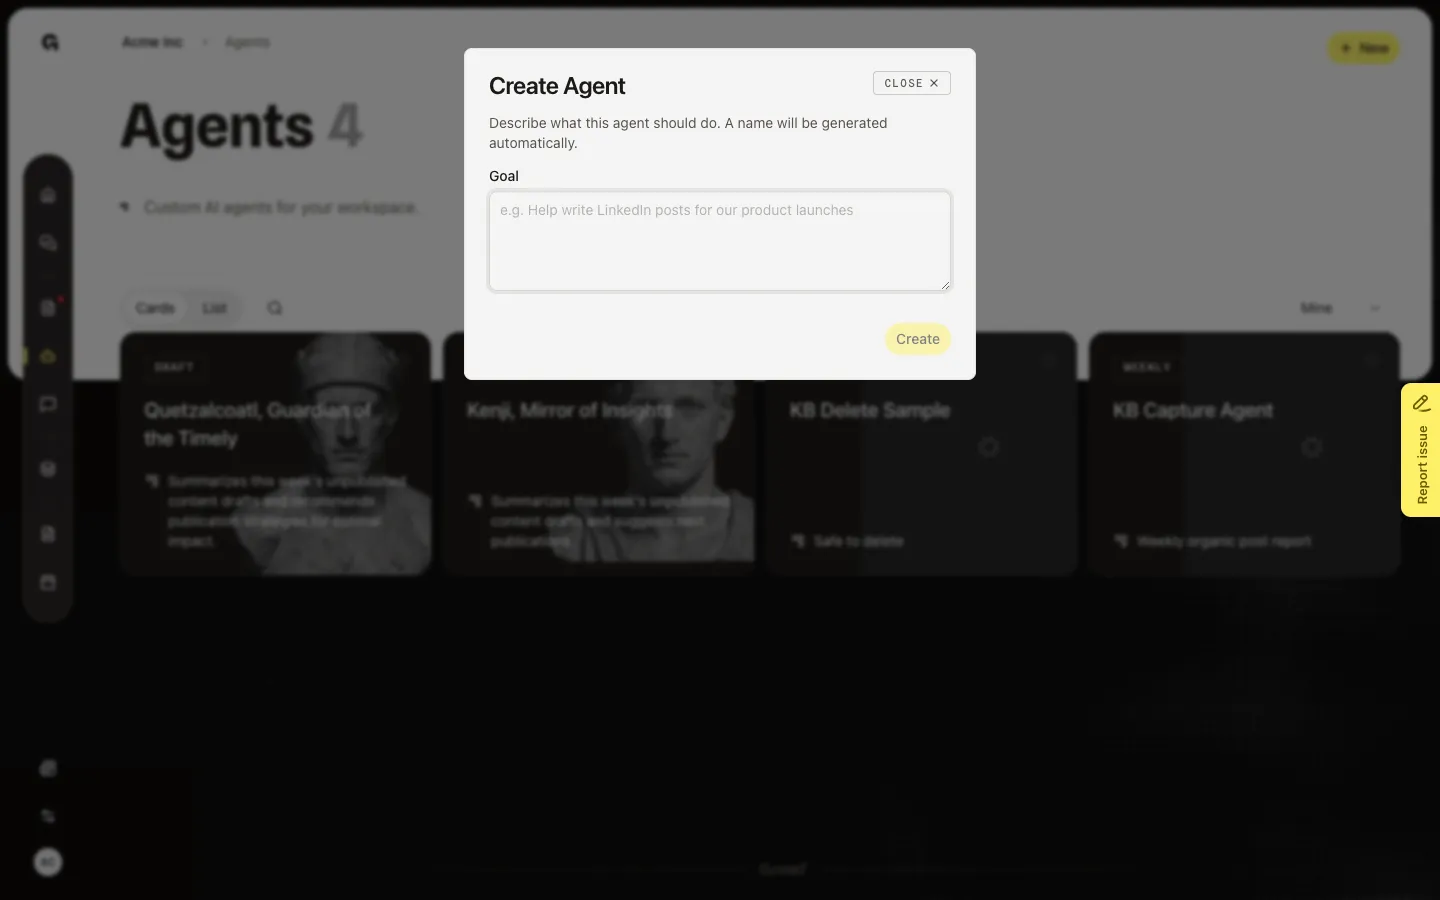
Describe the goal
Fill Goal with the job the agent should do, not a title. Example: Help write LinkedIn posts for our product launches. Create stays off until the field has text. A clear goal gives better instructions and tool picks.
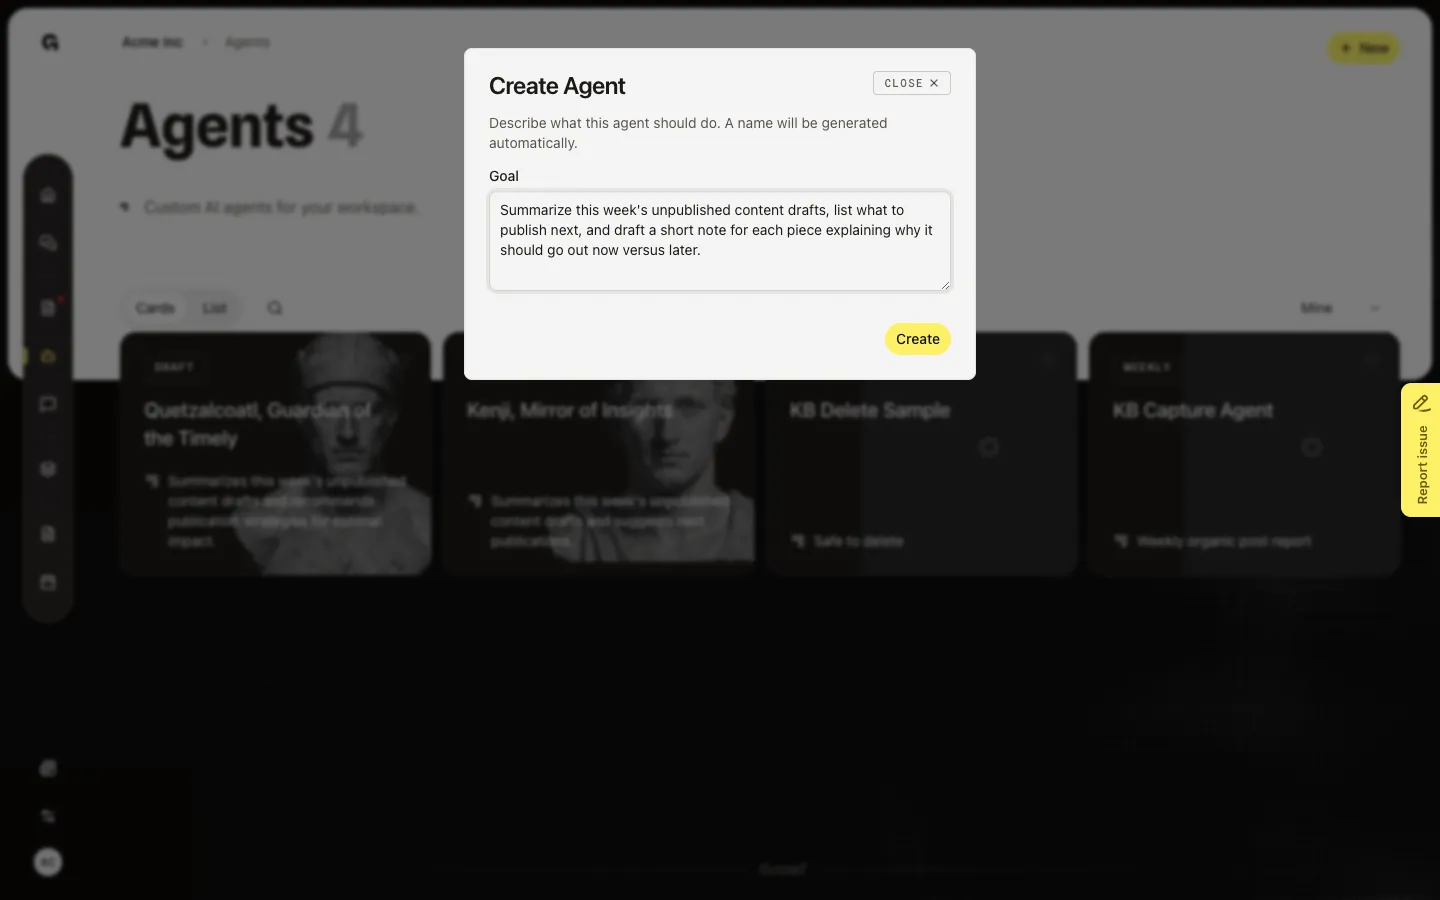
Create and wait for instructions
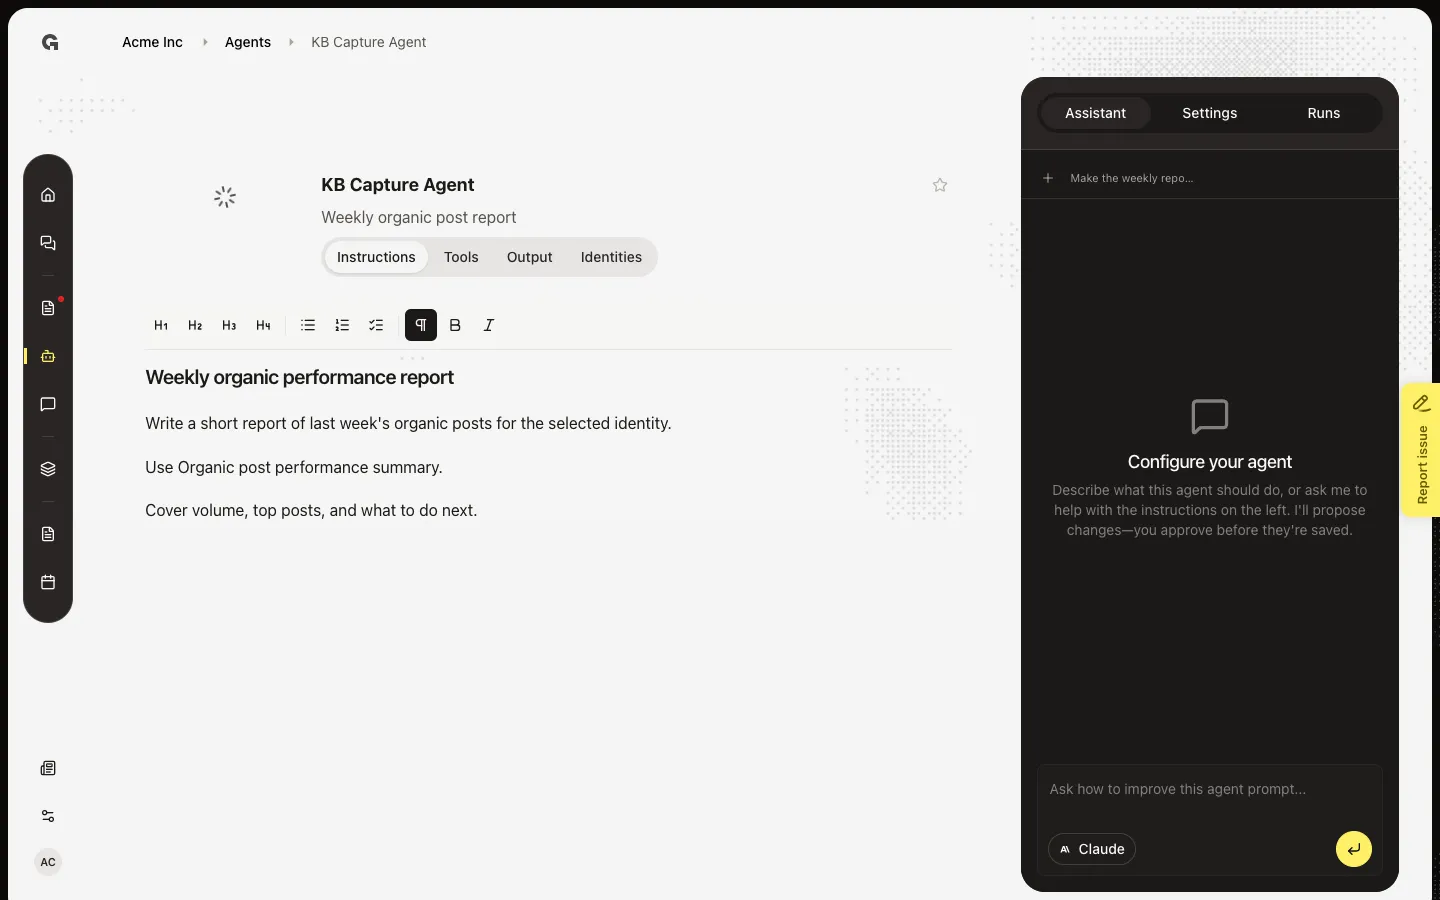
Choose Create. Growf opens the new agent and starts Generating instructions and tools from your goal. Keep the page open. When that finishes, Instructions shows a draft you can edit. The agent stays Draft until you set Type and Output and choose Active. See Activate a custom agent.
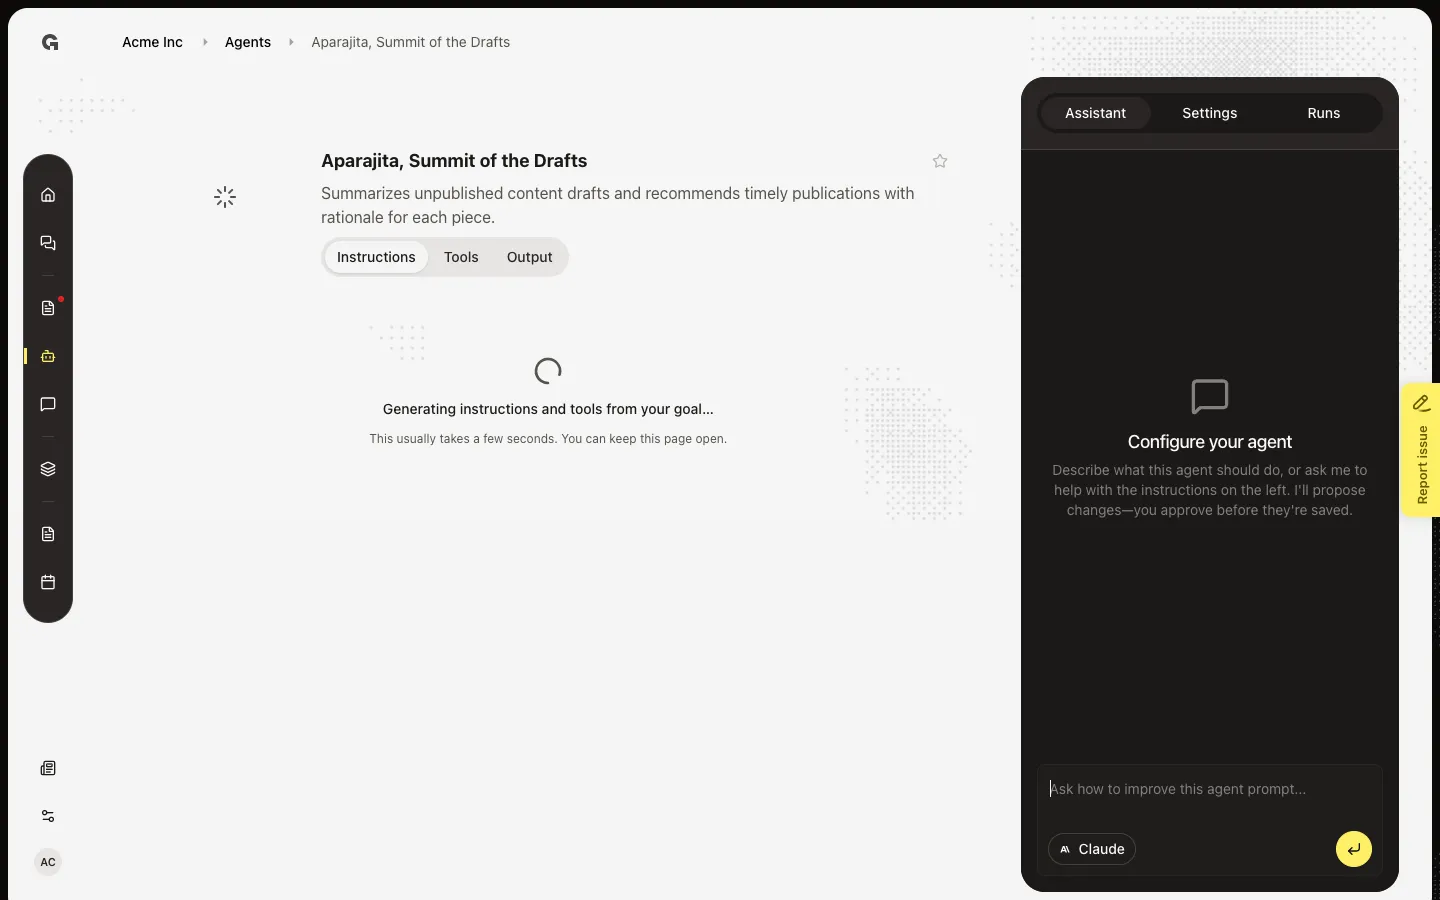
Review the generated instructions
When generation finishes, the editor replaces the spinner. Edit the text, or type / to add a tool. The sidebar Assistant can refine the prompt. Settings holds Type, Output, Schedule, Regenerate, and Delete.
FAQ
I do not see New.+
You need permission to create agents. Ask an admin, or open an existing agent if you can read it.
Can I choose the name before Create?+
No. Growf writes the name and tagline from the goal. After the agent opens, click the name to rename it.
Generating instructions never finishes.+
Leave the page open. If you see Could not generate instructions, edit the goal under Settings → Regenerate from original goal, then try again. You can also write Instructions yourself.
What should I do after Create?+
Check Instructions and Tools. Link connections and identities if the toolset needs them. Set Type to Report and Output to Text, then activate. See Manage agent tools and identities and Activate a custom agent.